In order to have the total environment at home as you would in the Baldy 21
lab, you will need to follow all of these instructions for installation exactly.
Failure to follow even one step can result in your installation not working
correctly and you not being able to work on your projects from home. If
the installation does not work for you, our first tech-support response will
be to uninstall everything and try again from scratch following each step of
the directions as they are written. Please note, this is not a process
you should begin at 11pm the night your project is due.
Note:
If you already have installed Eclipse and Green last year,
you can continue to work with the old versions or install the new versions
- it is up to you. The version of Eclipse has changed as well as the version
of
Green. You will need to delete your Eclipse install and install the new version.
If you are simply updating from last semester, you do not need to re-install
the JDK.
Installing JDK
- Go to the Sun's JDK download page:
http://java.sun.com/j2se/1.5.0/download.jsp. You should select to download
the JDK 5.0 Update 4 (or later) without any additional programs (like NetBeans).
Careful that you download the JDK and not the JRE. You also do not need any J2EE
technology.
- You will need to agree to the licensing agreement.
- Under Windows platform, you want to select the "Windows
Offline Installation" and click the link to begin
downloading.
- When the file download dialog box comes up, choose to Save
the file. A save dialog box will appear and you should select to
save the file in C:\. Click on the Save button to begin the
download process. A status window will appear to tell you
approximately how long this will take. On a cable modem it took
about 5 minutes, but that may vary depending on service/time of
day.
- When finished downloading, there should be an option activated to
Run the file. You should select this option and the automatic
installation program will take over.
- You will need to agree to the licensing agreement again and then
hit "Next".
- Another screen will appear asking you about customizing the
install. You will use the default install, so simply hit
"Next" again.
- Installation will now be beginning on your machine and you will see a
status bar appear to let you see progress.
- Next you will be installing the Java Runtime Environment.
Again you want the default installation, so simply hit
"Next".
- You will be prompted as to which browser you want to
register the Java plug-in, choose whatever browser you use most often
and hit "Next".
- The JRE will install and another status bar will appear.
- You should then click Finish.
- You MUST then click on the
"Installation Instructions"
link on the download page. Doing so will take you to a page on which you need
to select your operating system. Once you've done this you will get to the
installation instructions. You MUST follow the directions for changing
your PATH variable, which is step 5 of the instructions. You have already
completed steps 1-4 when you ran the installer. Find your version of Windows
and set the variable accordingly.
Installing Eclipse on Macintosh
- Follow the older instructions for installation (No
self-installer - sorry!)
Installing Eclipse on Linux
- Follow the older instructions for installation for
Macs, but change directories and file names appropriately. [No self-installer
- sorry! Hey, wait, you're a Linux person, you shouldn't need
a self-installer ;-) ]
Installing Eclipse (and Green) on Windows
- Download the Eclipse installer here (size ~120MB)
- When running, you should see this:
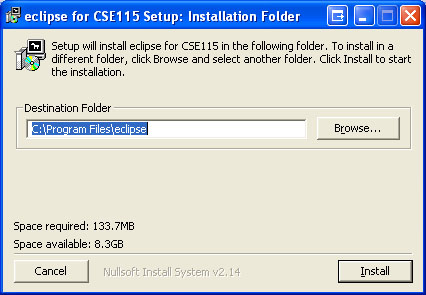
- Hit
Install and then it will automatically install eclipse for you. You will have a shorcut placed in your Start Menu as well as on your Desktop.
- You should see this:
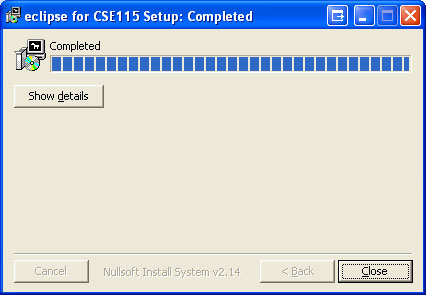
- Hit
Close
Installing UML relationships for Green
Install each relationship in much the same way as installing eclipse:
- Download the individual relationships for Green here:
- When running the installer, you will see something like:
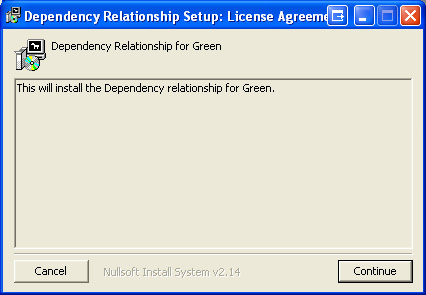
- Hit
Continue
- You will then see:
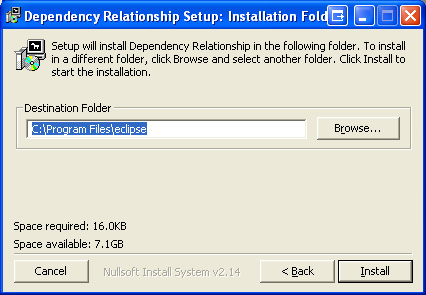
- If you installed eclipse in a different location than
C:\Program Files\eclipse, then make sure the 'Destination Folder' says the location that eclipse is installed in.
- Hit
Install
- You should then see:
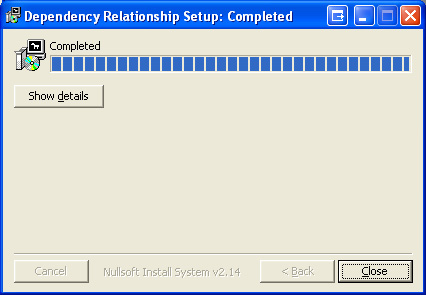
- Hit
Close